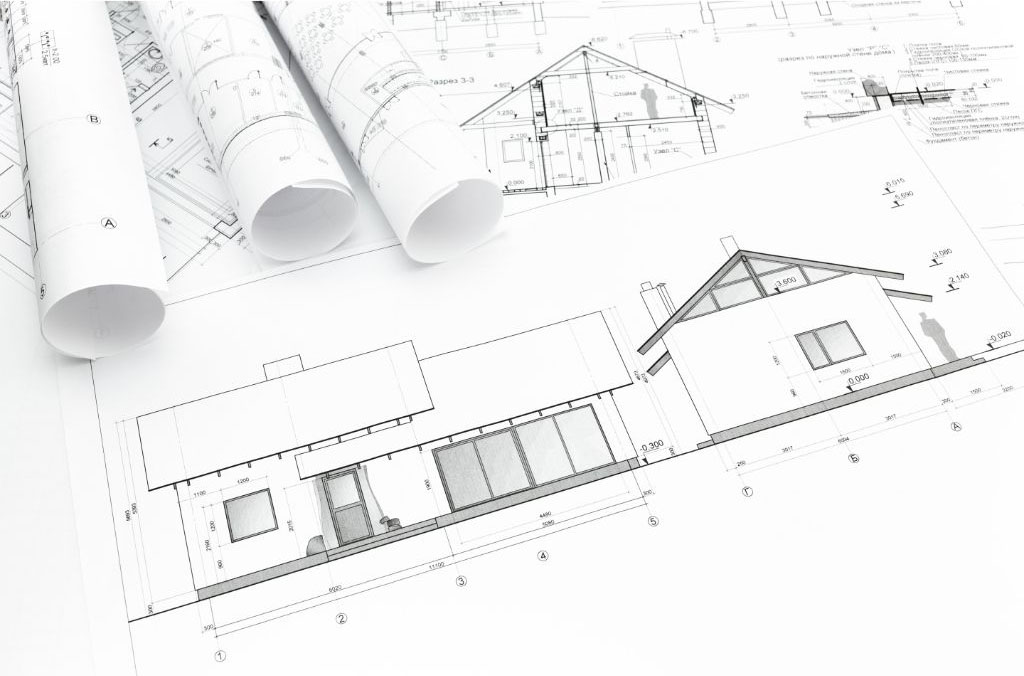
Whether you’re a seasoned home builder or just getting started in residential development, being able to read and understand a house plan is one of the most valuable skills you can have. A well-drawn plan isn’t just a layout of walls and rooms—it’s a full blueprint for cost-efficient, code-compliant, and marketable construction. At W.L. Martin Home Designs, we’re offering this free guide to help you sharpen your understanding of architectural house plans so you can make smarter decisions and avoid costly delays.
A lot of developers rely on architects or builders to interpret plans, but knowing how to review them yourself allows you to catch potential issues early, stay in control of your build, and better communicate with your team. Below, we’ll walk through what to look for and how to read each section of a plan with confidence.
1. Start with the Floor Plan
The floor plan is the heart of any house plan set. This is the bird’s-eye view that shows the room layout, wall placements, door and window locations, and traffic flow. When reading the floor plan, pay attention to:
- Room dimensions: These are usually written in feet and inches. Make sure the room sizes match your market’s expectations. For example, in many suburban areas, buyers now expect a primary bedroom to be at least 14×14 feet.
- Wall thickness: Interior walls are typically 4 inches thick while exterior walls are often 6 inches to accommodate insulation. Check these dimensions to make sure the total square footage adds up.
- Door swings and traffic flow: The plan will show which way doors open. Look for bottlenecks or awkward transitions between rooms that could frustrate future homeowners.

2. Know What Elevations Show You
Elevations are flat drawings of the home’s exterior from each side—front, rear, and both sides. They show you not just how the house will look, but also important details like:
- Roof slope (or pitch): A 6:12 pitch means the roof rises 6 inches for every 12 inches horizontally. This affects cost, curb appeal, and even how snow or water will shed.
- Exterior finishes: Elevation drawings label materials like brick, siding, or stone veneer. This can impact both your material costs and how the home fits the neighborhood aesthetic.
- Window and door placements: Make sure they align with the floor plan and work well with the home’s style.
3. Understand the Foundation Plan
Your foundation plan tells you whether the house is designed for a slab, crawlspace, or basement. This decision impacts excavation costs, mechanical layout, and energy efficiency.
- Footings and support walls: These are shown in thick lines and will carry the home’s load. Confirm that they align with bearing walls from the floor plan.
- Mechanical chases and access points: If HVAC, plumbing, or electrical systems need to run under the home, make sure the foundation plan accounts for it.
- Soil and frost considerations: Building in the North? You may need a deeper footing or insulated slab. Developers in colder climates must watch for foundation details that meet local frost line requirements.
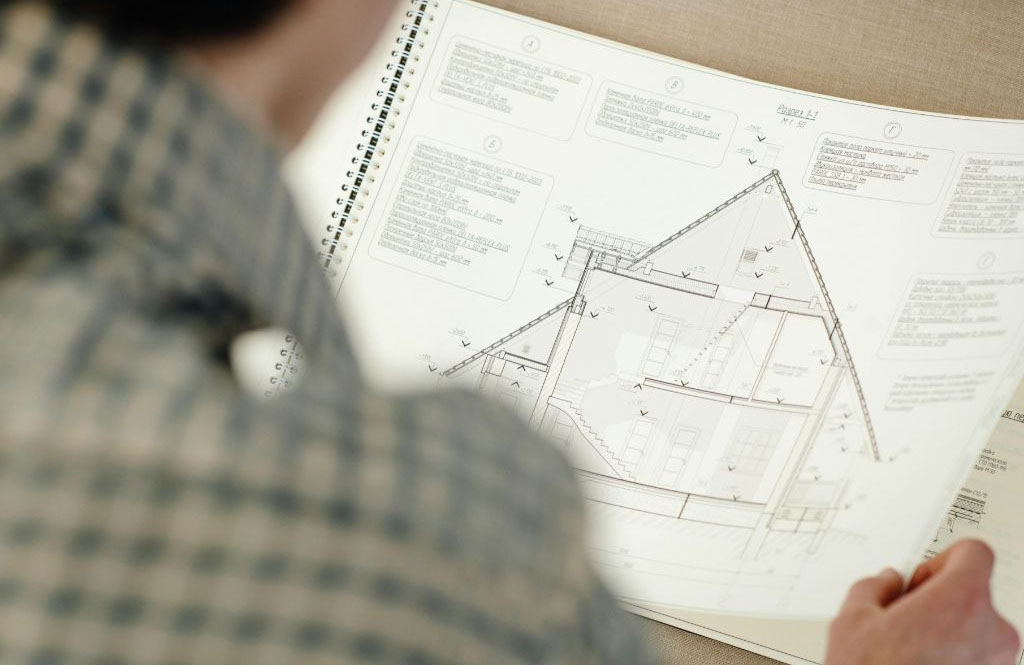
4. Check the Roof Plan and Framing Information
A roof plan outlines the layout of rafters or trusses and gives insight into how the roof structure is built. If your build area is prone to high winds or heavy snow, you’ll need to pay attention to how loads are managed.
- Valleys, hips, and ridges: These affect water drainage and flashing requirements.
- Load-bearing walls: These must align with supports shown in the framing plan to keep the home structurally sound.
- Truss layout: Many developers use pre-engineered trusses. Confirm that the plan accommodates standard truss sizes to reduce delays.
5. Review Notes and Symbols Carefully
Every house plan set includes a legend or key that explains the symbols used. These might indicate things like electrical outlets, lighting fixtures, plumbing points, or specific construction details.
- Electrical layout: This includes switches, outlets, and lighting. Check to make sure the layout matches common expectations (like having outlets on every wall longer than 6 feet, as required by code).
- Section cuts: These are marked with arrows and callouts like “A-A” and refer to cross-sections that show vertical slices of the house for more detail.
- Construction notes: These often contain crucial info about materials, fastening methods, or special instructions for the builder.
Why This Matters to Developers
According to the NAHB (National Association of Home Builders), framing, foundation, and drywall account for over 35% of the average home construction cost. The earlier you catch potential issues in a plan, the more money and time you save during construction. By understanding how to read a plan properly, you can reduce miscommunication, avoid unnecessary change orders, and even speed up your permitting process.
Plus, cities and counties often have slightly different code requirements. When you know how to interpret a plan correctly, you can spot missing details that might trigger delays or plan rejection during permit review.
At W.L. Martin Home Designs, we work hard to provide house plans that are builder-friendly and code-aware—but we also know that developers benefit from having more knowledge at their fingertips. That’s why we’re committed to offering more guides like this in the future to help developers like you build smarter, faster, and with fewer headaches.
Stay tuned for more free tips, checklists, and resources in upcoming posts. We’re here to help you get the most out of every build.
Have questions about plan symbols, local code compliance, or modifying one of our home designs? We’d love to help. Reach out anytime or explore our growing collection of house plans designed specifically for developers across North America.